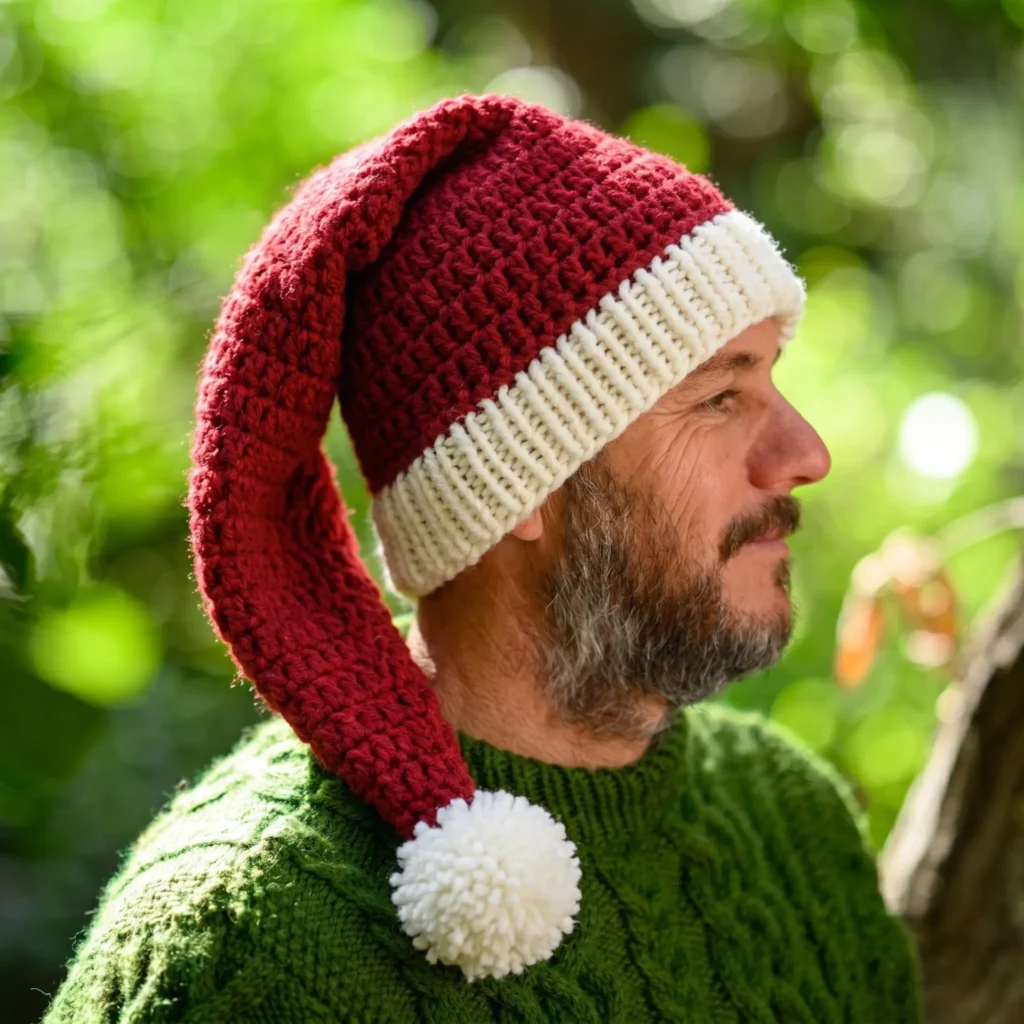
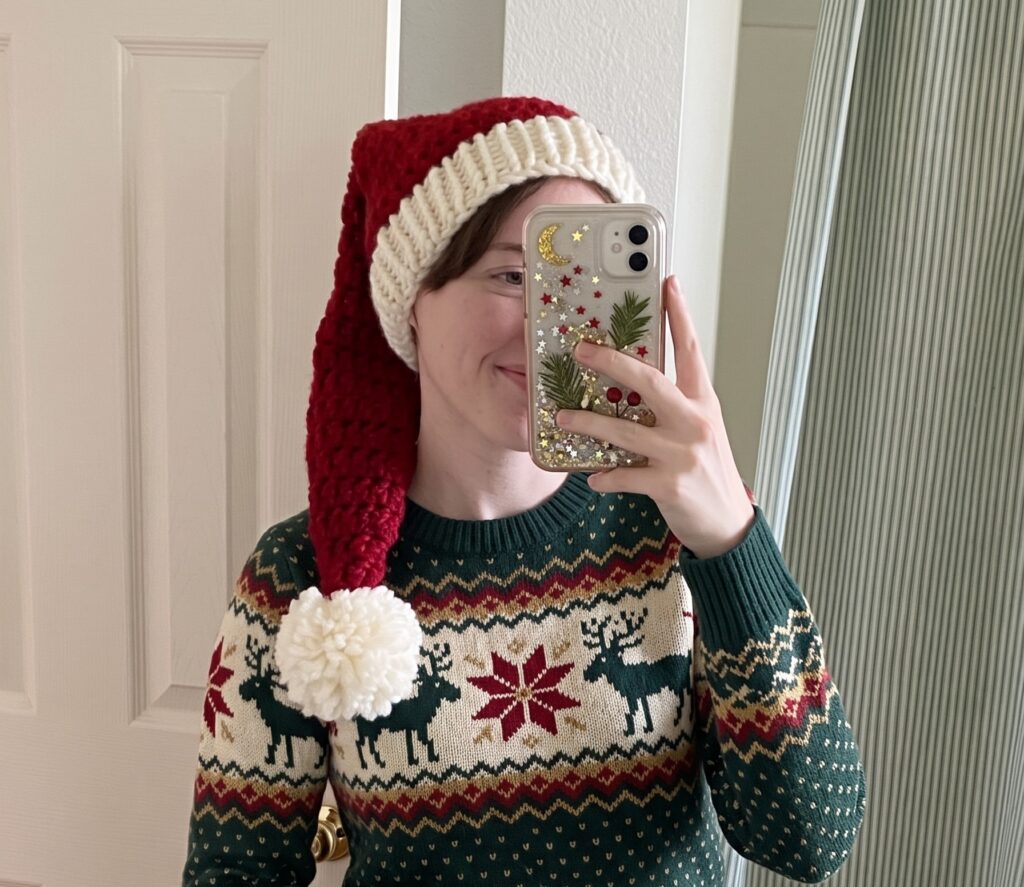
Nothing says “cozy holiday season” quite like a chunky, oversized crochet Santa hat. This pattern works up fast thanks to super bulky yarn and a big hook, you can realistically finish one in an evening. Whether you’re making it for yourself, gifting it, or adding it to your holiday shop lineup, this hat is a satisfying, low-fuss project with a seriously cute payoff (that pom-pom on top? Non-negotiable).
This pattern is beginner-friendly if you’re comfortable with basic double crochet and increases, no complex stitches required.
Why You’ll Love This Pattern
- Fast — chunky yarn means big stitches and quick progress
- Only 1 skein needed for the main hat
- Two ribbing options — knit or crochet, your choice
- Two sizes included — standard and a men’s/larger size
- Beginner-friendly — just double crochet, single crochet, and increases
Materials
- Chunky Weight (Category 5) yarn, 1 skein (main color)
- White chunky yarn for ribbing (or your choice of contrast color)
- 9.0mm crochet hook
- 8.0mm knitting needles or 8.0mm (US L) crochet hook, depending on which ribbing method you choose
- Sharp scissors
- Darning needle (a bent-tip needle makes weaving in ends much easier)
Skill Level
Beginner / Beginner+
Abbreviations (US Terms)
- Ch – Chain
- St(s) – Stitch(es)
- Dc – Double Crochet
- Sc – Single Crochet
- Inc – Increase
- Sl st – Slip Stitch
Pattern Notes
- This pattern uses US crochet/knit terms.
- Every round begins with a chain 2, and that chain 2 always counts as a stitch. After this note, the chain 2 won’t be mentioned again at the start of each round, just remember it’s always there and always counts toward your total stitch count.
- Stitch counts for each round are shown in < >, for example,
<30 stitches total>. - You’ll slip stitch into the first stitch of the round, which is the top of that chain 2.
Cozy St. Nick Hat Pattern
With your red yarn (or whatever color you’re using) and a 9.0mm hook, create a magic ring and work 8 dc into the ring (your chain 2 counts as one of the 8 dc). Sl st into the first st of the ring to join.
Rnd 1: Work 1 dc in each st around. Sl st into first st. ‹8›
Rnd 2: Work 1 dc in each st around. Sl st into first st. ‹8›
Rnd 3: Work 1 inc in first st, dc in next st, inc in next st, dc in next st, repeat 2 more times. Sl st into first st. ‹12›
Rnd 4–5: Dc in each st around. ‹12›
Rnd 6: Inc in first st, dc in next 3 sts, inc in next st, dc in next 3 sts, repeat 1 more time. Sl st into first st. ‹15›
Rnd 7–8: Dc in each st around. ‹15›
Rnd 9: Inc in first st, dc in next 5 sts, inc in next st, repeat 1 more time. Dc in last 2 sts. Sl st into first st. ‹18›
Rnd 10–11: Dc in each st around. ‹18›
Rnd 12: Dc in next 3 sts, inc in next st, repeat 3 more times. Dc in last 2 sts. Sl st into first st. ‹22›
Rnd 13: Dc in each st around. ‹22›
Rnd 14: Dc in next 4 sts, inc in next st, repeat 3 more times. Dc in last 2 sts. Sl st into first st. ‹26›
Rnd 15: Dc in each st around. ‹26›
Rnd 16: Dc in next 5 sts, inc in next st, repeat 3 more times. Dc in last 2 sts. Sl st into first st. ‹30›
Rnd 17: Dc in each st around. ‹30›
Rnd 18: Dc in next 6 sts, inc in next st, repeat 3 more times. Dc in last 2 sts. Sl st into first st. ‹34›
Rnd 19: Inc in first st, dc in next 7 sts, inc in next st, repeat 3 more times. Dc in last st. Sl st into first st. ‹39›
Rnd 20: Dc in next 8 sts, inc in next st, repeat 3 more times. Dc in last 3 sts. Sl st into first st. ‹43›
Rnd 21: Dc in each st around. Sl st into first st. ‹43›
Fasten off.
For a Men’s / Larger Size
Follow the pattern exactly the same through Round 20, then:
Rnd 21 (larger size): Dc in next 9 sts, inc in next st, repeat 3 more times. Dc in last 3 sts. Sl st into first st. ‹47›
Fasten off.
Ribbing
Choose one of the two ribbing methods below, worked in white (or your chosen contrast color).
Option 1: Knit Ribbing
With white yarn and 8.0mm knitting needles:
Cast on 44 sts. Place a beginning-of-round stitch marker. Work 1×1 knit ribbing for 7 rows. Bind off loosely in rib pattern. Fasten off.
Option 2: Single Crochet Ribbing
With white yarn and an 8.0mm (US L) crochet hook:
Ch 9, sc into 2nd ch from hook, sc in remaining 7 ch. Work 2 sl sts into 2 sc from the previous round, turn.
Sc in back loops only (blo) across next 8 sts, turn. Ch 1, sc blo across next 8 sts. Work 2 sl sts into 2 sc from the previous round, turn. Repeat from * until you’ve worked all the way around the brim opening.
Fasten off, leaving a long tail. Use a whip stitch (or your preferred seaming method) to sew the two short ends of the ribbing strip together.
Attach the finished ribbing to the bottom edge of the hat.
Finishing: The Pom-Pom
Make a fluffy white pom-pom and attach it securely to the tip of the hat. Weave in all remaining ends.
You’re done!

Tips for Success
- Chunky yarn hides small tension inconsistencies well, great for beginners still building confidence.
- Use a stitch marker at the start of each round; with chunky yarn it’s easy to lose track of your join point.
- If your hat feels too floppy at the tip, try sizing down your hook slightly for a denser fabric.
Can I Sell What I Make?
Yes! You’re welcome to sell any items you make using this pattern. The written pattern itself is mine, please don’t republish or resell the instructions themselves, but finished hats are all yours to sell or gift.
Happy stitching, and if you make one, I’d love to see it! Tag your project or leave a comment below.